Everything You Need To Know About Rain Gardens
By Lara Wadsworth
Rain gardens are quickly gaining popularity for their perfect marriage of utility and beauty. What simply looks like a beautifully landscaped garden is actually a native habitat that serves as a storm drain and water sponge. But how do you make one?
Designing A Rain Garden
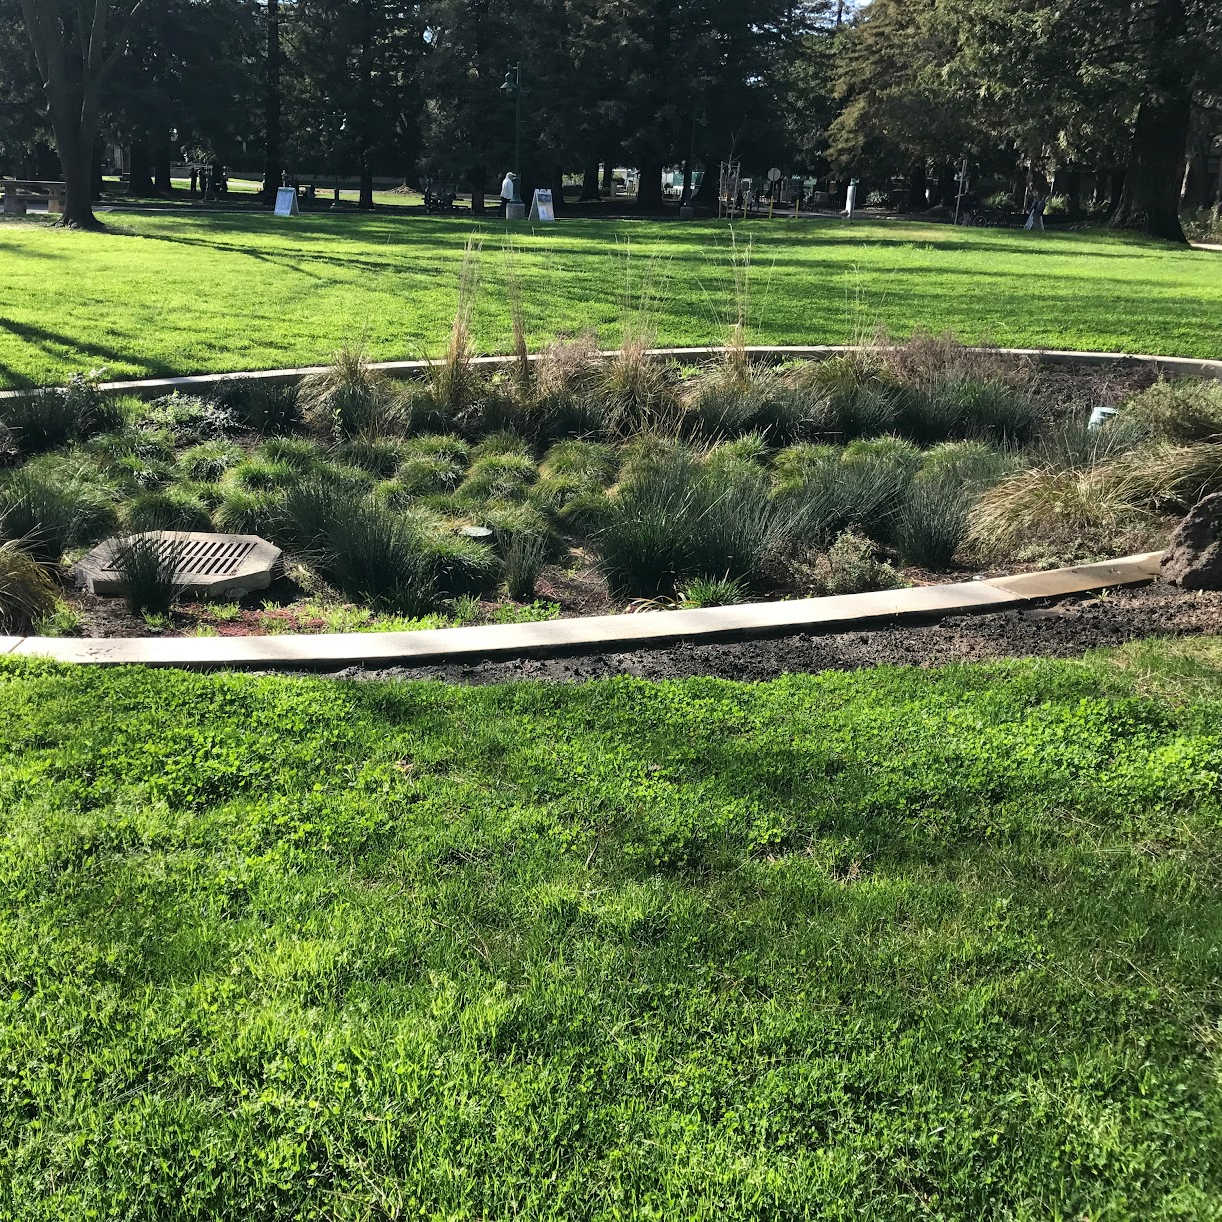
The general structure of a rain garden is simple. It is a low bowl with a berm around the edge and is filled with a layer of sand or gravel, fertile or amended soil, native water-loving plants and is topped with a sturdy mulch. There are countless videos and diagrams on the internet elaborating on this structure and how to implement it. The general idea is to slow down water in order to prevent erosion and provide a way for it to soak into the soil without compromising the integrity of the land.
There is also the option to redirect water via drain pipes. Polyethylene drain tubing is excellent for this and can even be buried underground to preserve the aesthetic of your yard. Use these to funnel water to your rain garden from your house’s downspouts or other areas that may collect lots of water. Placing rocks at the entry point of the water to the rain garden can prevent the mulch from being washed away.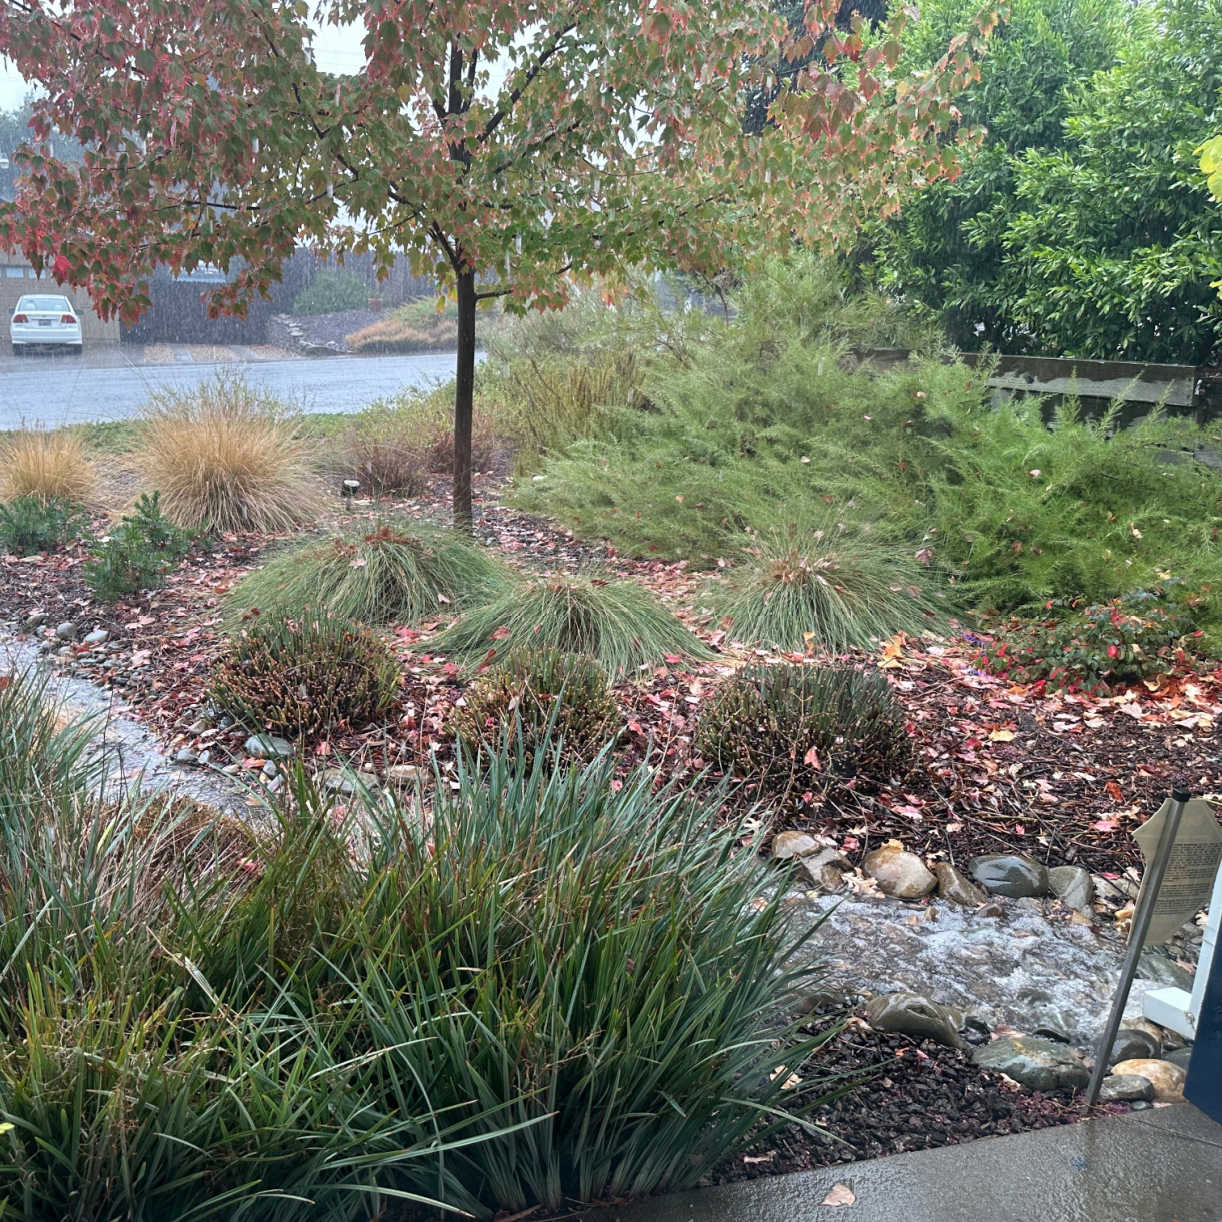
The best place to locate a rain garden is a low spot in your yard that usually gathers lots of water. Choose a low site that, after a hefty rainfall, is mushy, has a big puddle, or has been eroded by the flowing water. It should ideally receive at least 8 hours of sunlight per day, but the selection of plants can be adapted if more shade is necessary.
Measuring Rainfall
When planning a rain garden, it can be helpful to measure how wet your soil is throughout the season and how much rainfall you receive. To measure your rainfall, simply place a rain gauge in an uncovered location in your yard. Then, keep a record of how much rain you receive each day over a period of time. The rain gauge will tell you how much rain is received in millimeters. You can then calculate the average rain received in a day, week, month, and year. A moisture meter can also be useful in identifying wet or dry spots throughout your landscape that should be taken into consideration when selecting your rain garden location.
Rain Gauge
Choosing Plants for a Rain Garden
Once you have your structure and before you add that layer of mulch, you need plants! However, choosing what plants to include can be very daunting. The USDA has a fantastic database of plants that you can filter and search through for precise criteria. Select your region’s native plants or even native wetland plants on their filters. Another great resource is The National Wildlife Federation's native plant database, where you can search for native plants by zip code. Between these two databases, you should be able to find a healthy list of plants that fit your location’s needs. While browsing, remember that you need exclusively native plants tolerant of water and drought. Take into account your specific location’s sun and shade amounts as well. This list will be different for each region.
Check with your local Department of Natural Resources or university extension office to see if they already have a list of native rain garden plants for your area. Generally, cattails and other grassy water-loving plants can be placed where the most water lies and other sedges and wildflowers can be placed in between to provide beauty and further functionality.
Place plants closer together than normal to encourage their canopies to fill in. There should be a plant about every 18 inches or so. The more root systems there are, the more erosion-resistant the garden will be. Divide the size of your rain garden’s square footage by 2.25 to estimate approximately how many plants you should be looking for.
Finish With a Layer of Mulch
Once you have created your basin, amended the soil if necessary, and added your selected plants, it is time to finish with a layer of mulch. Topping your exposed soil with mulch will help keep the roots cooler during the hot summer months and suppress weeds. Over time this layer will break down and become a valuable soil amendment. Every year or two, additional mulch should be added to maintain these benefits. When soil is left exposed, it is more likely to erode, spring full of competitive weeds, and maintain warmer soil temperatures.
Maintaining a rain garden after installation is very simple. Thanks to all the native plants, it should rarely need supplemental watering except to help it get established. Each year, assess your garden and cut back or divide any plants that might be overtaking the rest of it. Fall is typically the best time to do this, but specific instructions can vary by the plant species you have selected. Reapply mulch as necessary early each spring.